Step-by-Step Guide: Deploying a Windows 11 Virtual Machine on Azure
Microsoft Azure makes it easy to deploy virtual machines in just a few clicks. If you're curious about how to launch a Windows 11 VM on Azure for development, learning, or experimentation—this guide is for you!
Table of Contents
- Log In to Azure
- Create a New Virtual Machine
- Basic Configuration
- Configure Disks
- Set Up Networking
- Management Options
- Review + Create
- Connect to Your VM
- Wrap-Up Tips
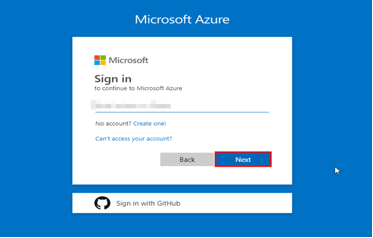
Log In to Azure
Go to https://portal.azure.com and sign in to your Microsoft account.
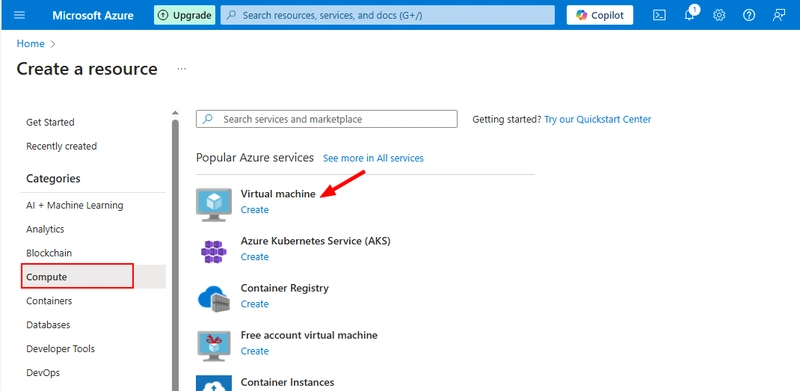
Create a New Virtual Machine
From the sidebar, select Create a resource → Virtual Machine under Compute.

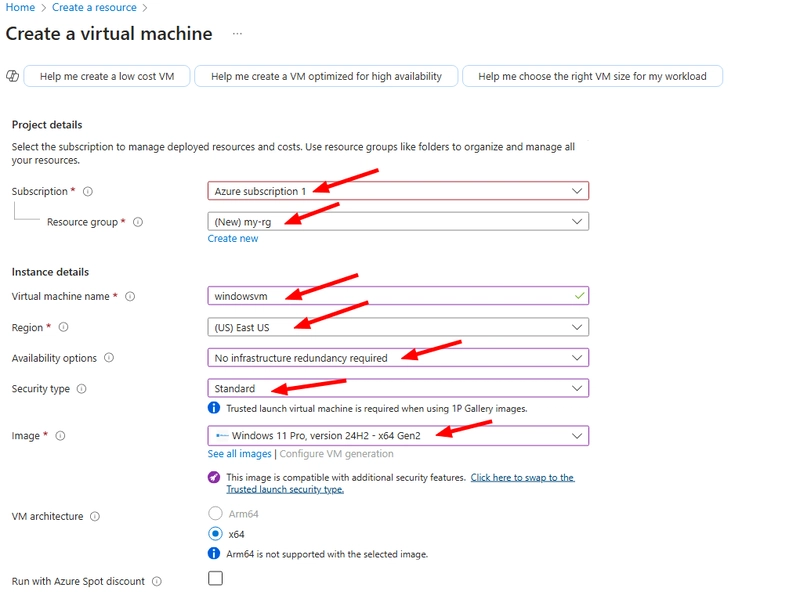
Basic Configuration
Fill out the Basics tab as follows:
- Subscription: Active subscription
- Resource Group: Create new or use existing
- Virtual machine name:
windowsvm - Region: Closest to your location
- Image: Select
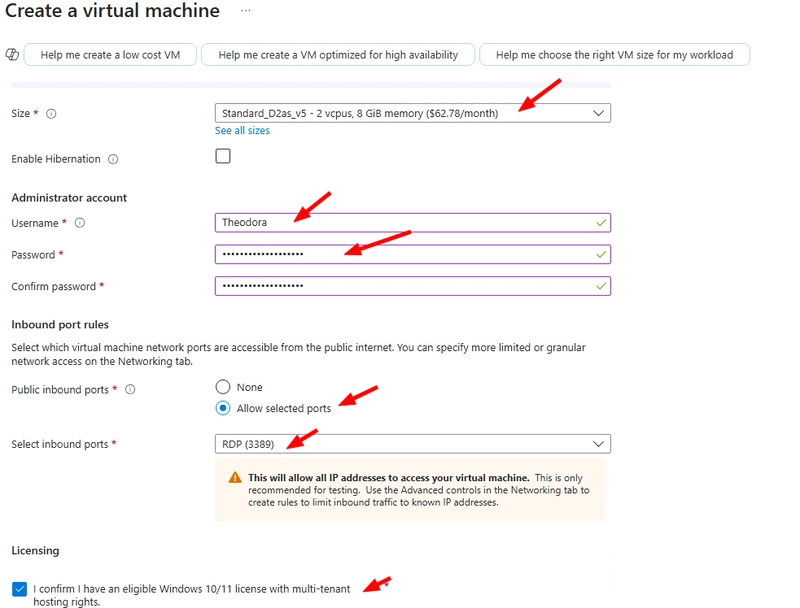
Windows 11 Pro - Size: Try
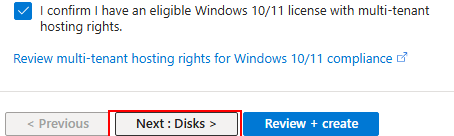
Standard B2sor similar - Authentication: Username & password
- Inbound port rules: Allow selected ports and choose RDP (3389) for Windows access
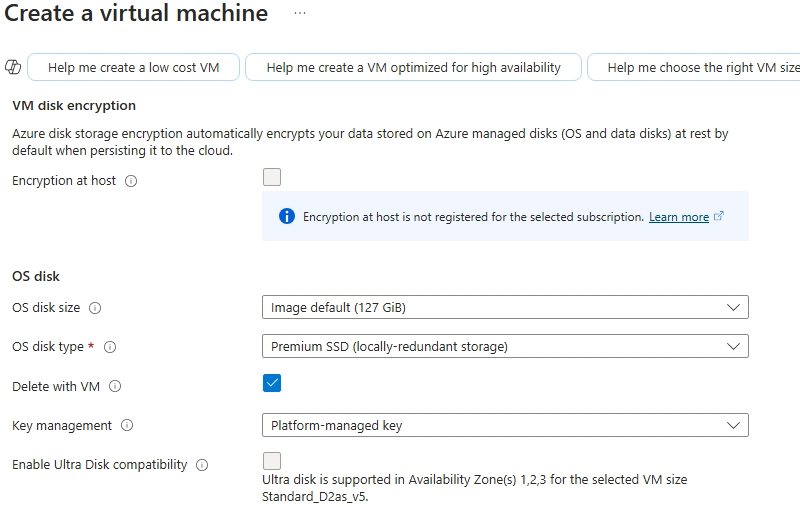
Configure Disks
- Choose Standard SSD or Premium SSD
- Leave OS disk settings as default unless you have special requirements
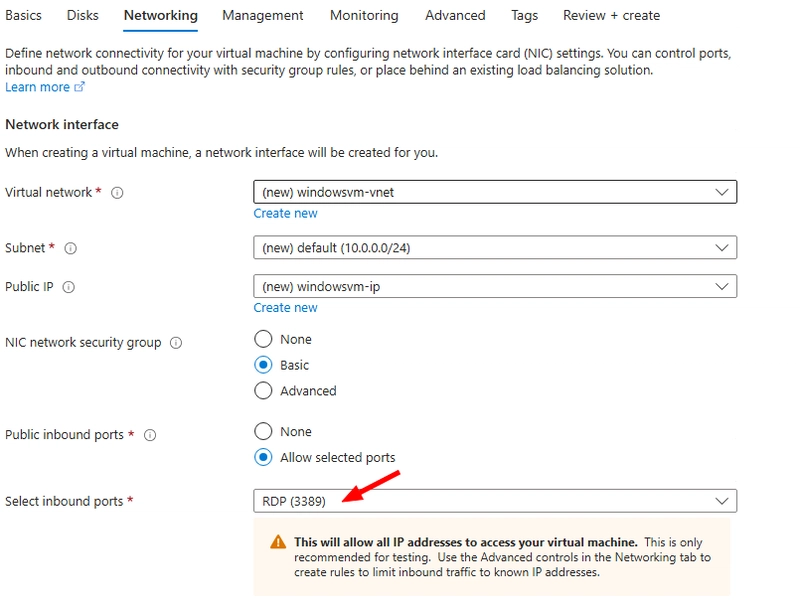
Set Up Networking
Set the following networking options:
- Virtual Network: Use default
- Subnet: Use the default subnet
- Public IP: Use default
- NIC Network Security Group (NSG): Choose Basic which is the default option.
- Inbound Ports: Ensure RDP (3389) is selected to allow remote desktop access
Use the default settings unless you have specific networking requirements. The key is to make sure RDP is enabled so you can connect to your VM.

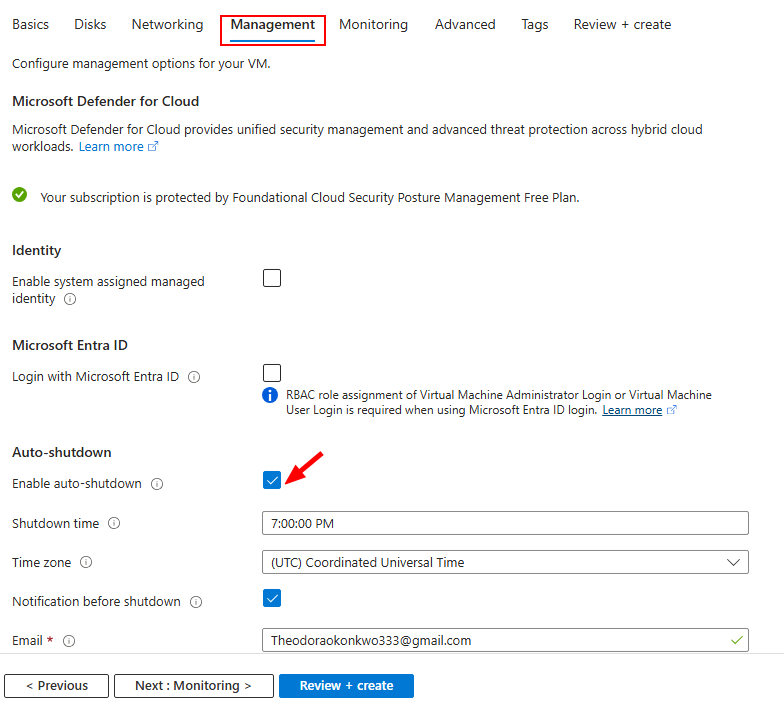
Management Options
Enable Auto-shutdown (to avoid unnecessary charges)
Enable diagnostics if you'd like telemetry
Review + Create
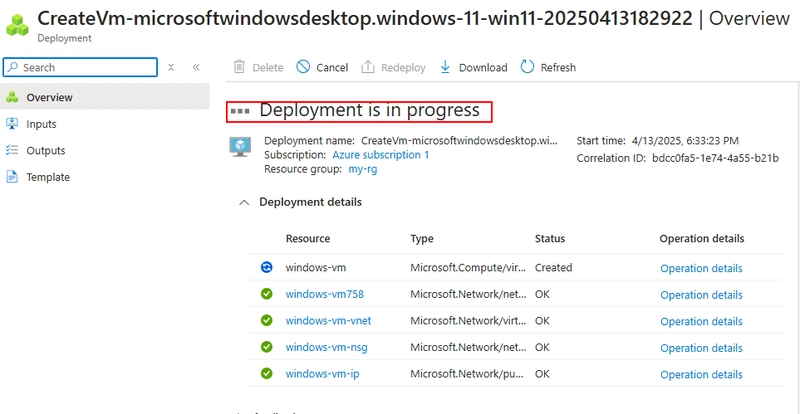
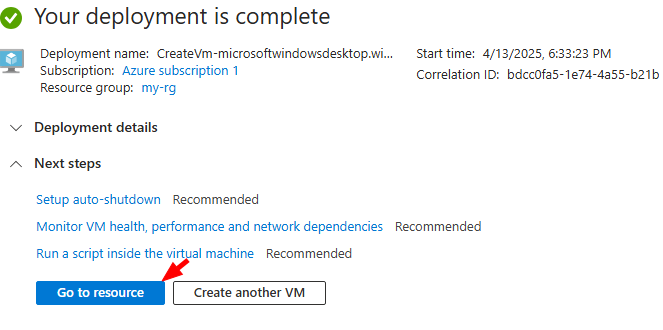
Click Review + Create, wait for validation, then click Create to begin deployment.


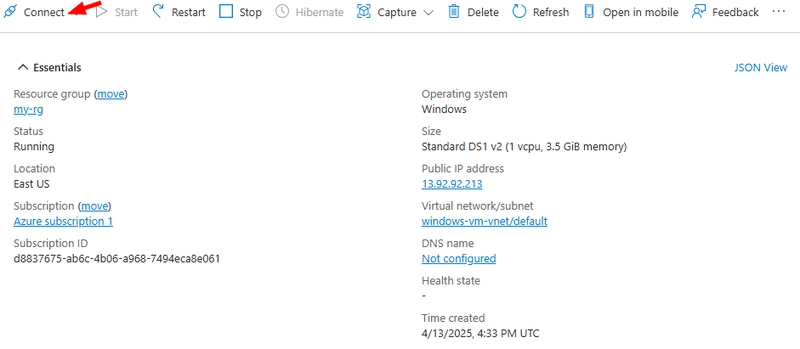
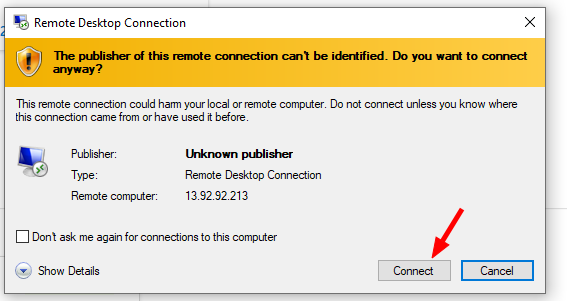
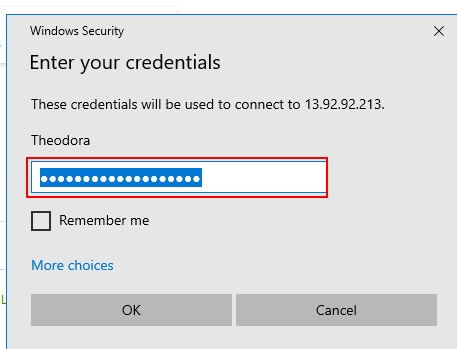
Connect to Your VM
- Navigate to your VM in Azure
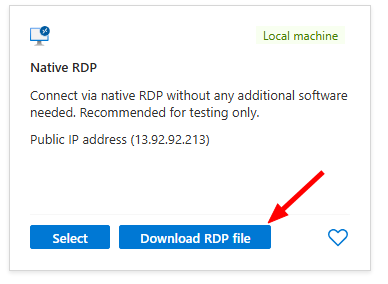
- Click Connect > RDP
- Download and open the
.rdpfile - Log in using the credentials you set
Wrap-Up Tips
- Stop VMs when not in use to avoid charges
- Use Azure Bastion for secure, browser-based access
- Take Snapshots for quick VM backups
- Check Cost Management in Azure to monitor usage
You're All Set!
You now have a fully functional Windows 11 VM running in the cloud! 🎉
Use it for development, experimentation, or learning from anywhere.
Found this helpful? Drop a comment or share it with someone getting started with Azure 🚀
Tidak ada komentar:
Posting Komentar